


As electric vehicles (EVs) become more common, homeowners are increasingly looking for convenient and cost-effective charging solutions. Installing an EV charger at home not only saves time but also ensures your vehicle is always ready to go. But what does the installation process actually involve?
In this guide, we’ll walk you through everything you need to know from requirements and costs to a clear, step-by-step installation process, so you can make an informed decision.
Do You Really Need a Home EV Charger?
If you own or are planning to own an electric vehicle, charging quickly becomes part of your daily routine. While every EV comes with a basic charger, it’s often too slow for regular use, especially if you drive frequently.
A home EV charger makes things much simpler. After your EV charger installation, you can plug in overnight and start each day with a fully charged vehicle—no extra planning, no waiting at public stations.
What Are Your Options?
- Level 1 chargers use a standard wall socket and are best for light or occasional use
- Level 2 chargers require a dedicated connection but charge much faster, making them ideal for everyday use
For most homeowners, Level 2 is the practical choice; it saves time and fits seamlessly into your routine.
Why It’s Worth It
- Convenience: Charge at home, on your schedule
- Time-saving: Faster charging, especially with Level 2
- Cost-effective: Often cheaper than public charging
- Future-ready: Adds long-term value as EV adoption grows
In simple terms, a home EV charger turns charging from a task into something you barely have to think about.
Key Requirements Before Installation
Before installing an EV charger, a few important factors need to be assessed.
Electrical Capacity
Your home’s electrical panel must be able to handle the additional load. Most Level 2 chargers require a 240V connection. In some cases, a panel upgrade may be necessary.
Installation Location
Choose a spot that is:
- Close to your parking area
- Protected from extreme weather (or install a weatherproof unit)
- Easily accessible for daily use
Permits & Regulations
Depending on your location, you may need permits or approvals before installation. Local electrical codes must also be followed to ensure safety and compliance.
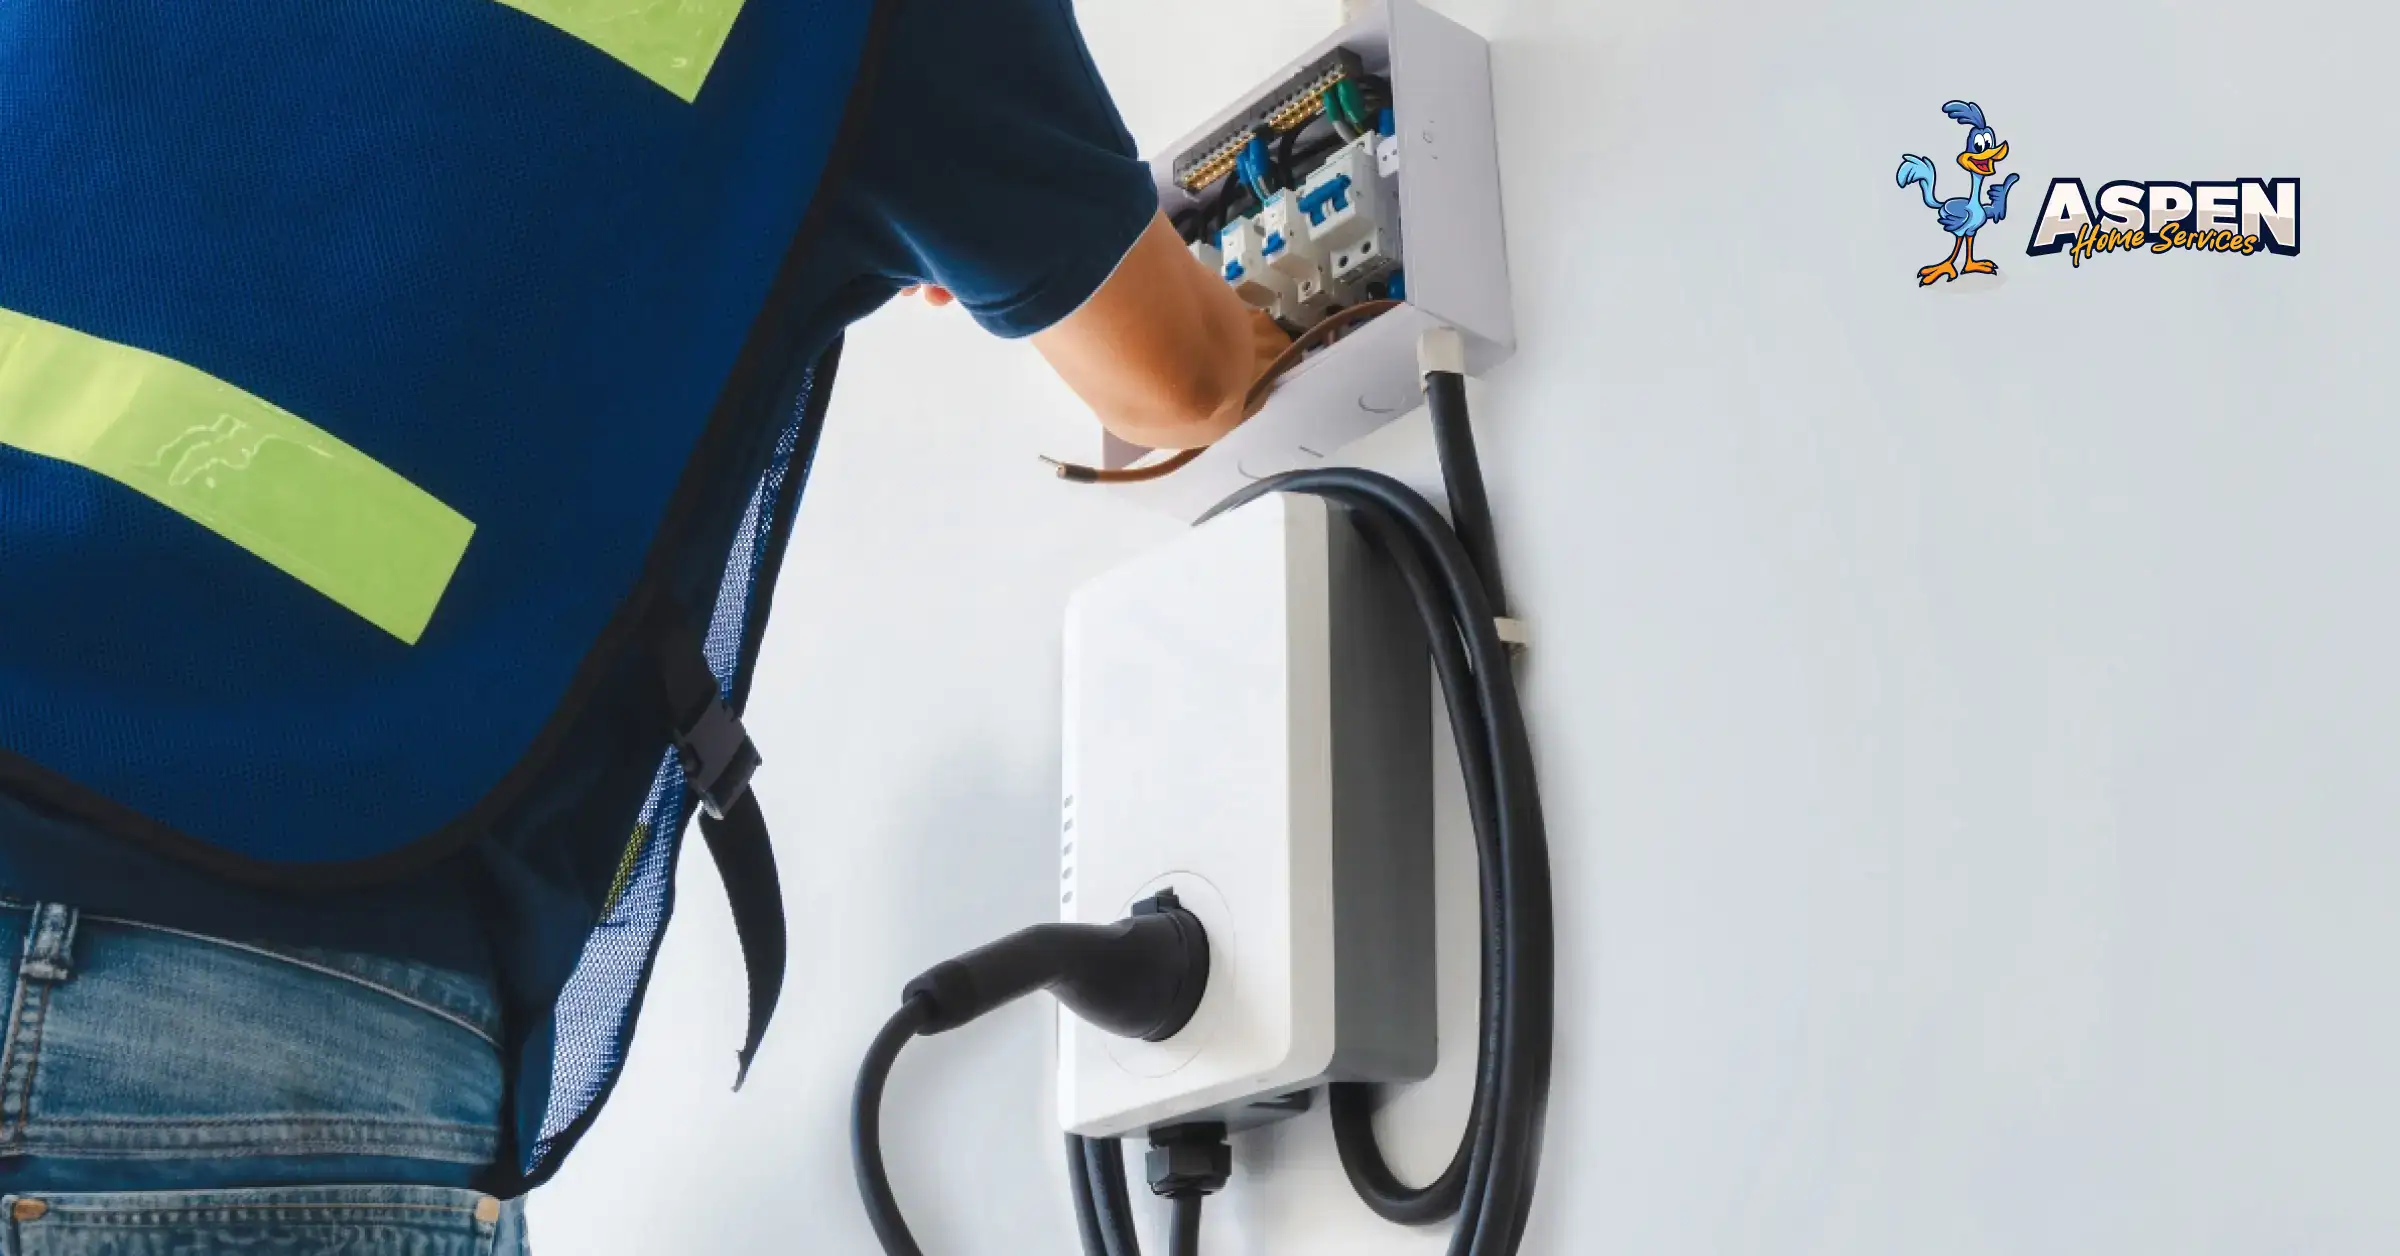
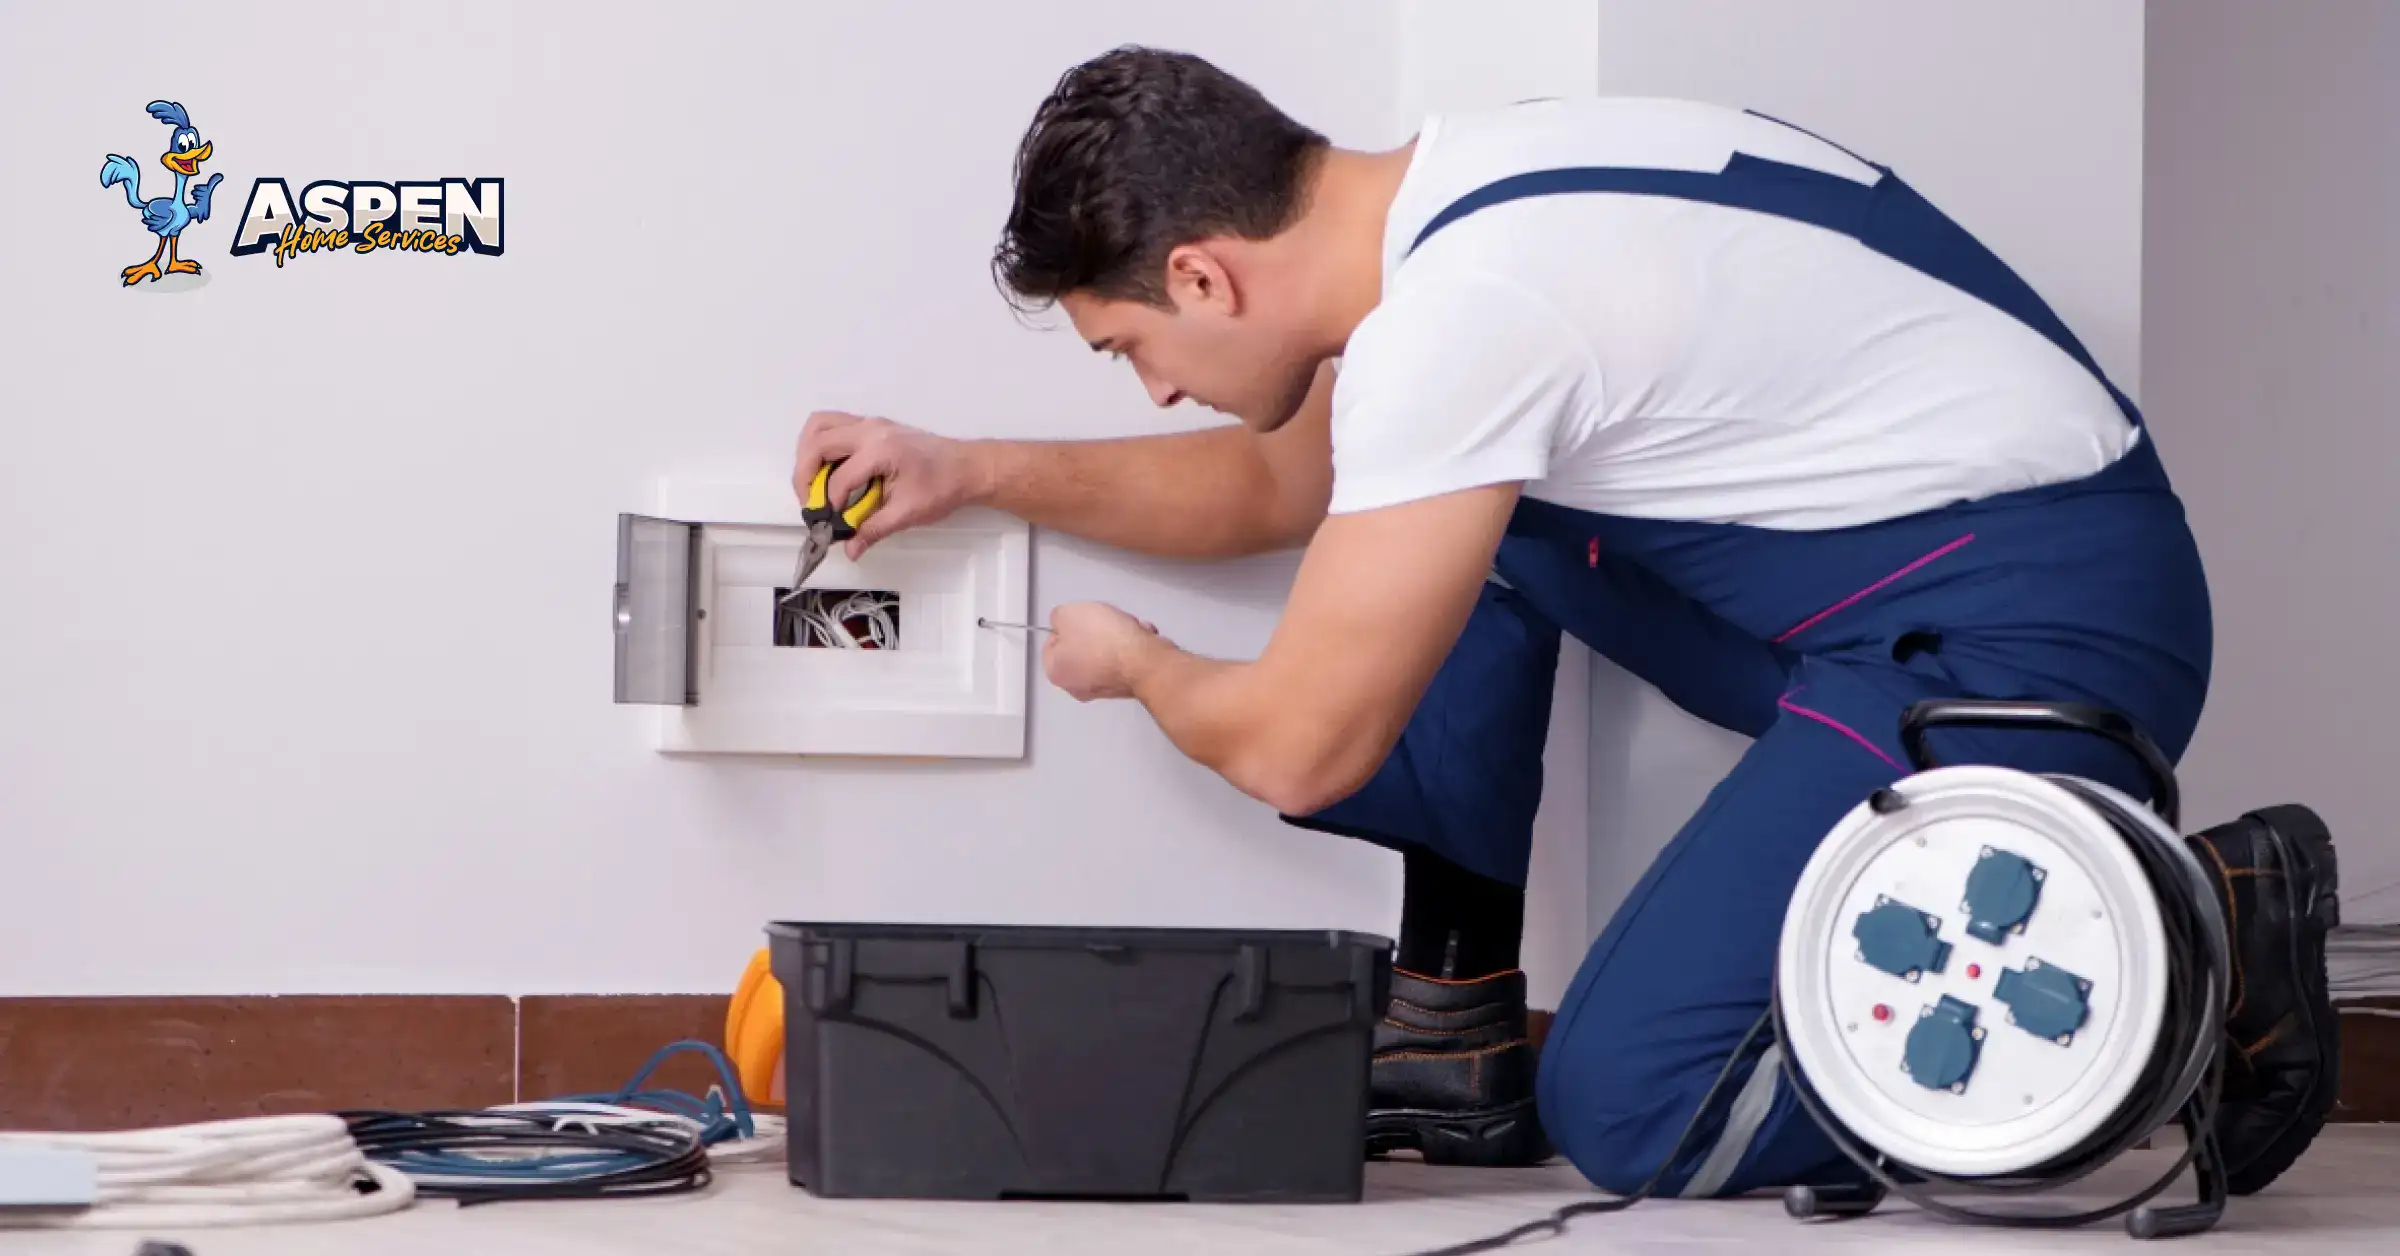
Step 1: Site Inspection & Load Assessment
A professional electrician evaluates your home’s electrical system, checks panel capacity, and identifies the best installation location. This step is critical to ensure your system can safely handle the additional load without risking overload or performance issues. The installer may also assess your daily charging needs to recommend the most efficient setup.
Step 2: Choosing the Right Charger
Based on your vehicle, usage, and budget, you’ll select a compatible charger typically a Level 2 unit for residential use. Factors such as charging speed, smart features, and future scalability are considered at this stage. Choosing the right charger ensures optimal performance and avoids the need for frequent upgrades.
Step 3: Electrical Preparation
This step may include:
- Installing a dedicated circuit
- Upgrading the electrical panel (if required)
- Running wiring from the panel to the installation point
Proper electrical preparation ensures stable power delivery and minimizes the risk of interruptions. In some cases, protective components such as circuit breakers or surge protection devices may also be installed to enhance safety.
Step 4: Mounting & Wiring
The charger is securely mounted on the wall, and all electrical connections are completed following safety standards. Installers ensure the unit is positioned at an optimal height and location for ease of use. Weatherproofing measures may also be applied if the charger is installed outdoors.
Step 5: Testing & Activation
Once installed, the system is tested to ensure proper operation. The charger is then activated and ready for use. This includes verifying charging speed, checking for electrical stability, and ensuring all safety mechanisms are functioning correctly.
How Long Does Installation Take?
One of the most common questions homeowners have is how quickly they can start charging their EV at home. The good news is that most installations are relatively quick, especially when the existing electrical system is ready to support it.
Typical Timeline
- Basic installation: 3–5 hours
- Complex installations: 1–2 days
In straightforward cases, where your electrical panel has sufficient capacity and the installation point is close by, the process can often be completed in a single visit. However, more complex setups may require additional time, particularly if upgrades or customizations are involved.
What Can Affect the Timeline
Several factors can influence how long the installation takes:
- Electrical panel upgrades: If your system needs additional capacity, this can extend the timeline
- Distance from panel to charger location: Longer wiring routes require more effort and time
- Permit approvals and inspections: In some areas, installations must be inspected before activation
- Custom installation requirements: Unique layouts or outdoor installations may require extra work
Planning ahead and scheduling a professional assessment can help identify these factors early, ensuring a smoother and faster installation experience.
DIY vs Professional Installation
While EV charger installation might seem like a manageable project, it involves high-voltage electrical work that requires precision, compliance, and safety awareness.
Can You Install It Yourself?
Technically, some homeowners may attempt a DIY installation, especially if they have prior electrical experience. However, EV chargers operate on high-capacity circuits, and even small errors in wiring or load calculation can lead to serious safety risks or long-term performance issues.
Why Hiring a Professional Is Recommended
Working with a certified electrician ensures that your installation is not only functional but also safe and future-ready.
- Compliance with electrical codes: Professionals follow local regulations and safety standards
- Reduced risk of hazards: Proper installation minimizes the chances of overheating, short circuits, or failures
- Optimal performance: Ensures your charger operates efficiently and delivers expected charging speeds
- Warranty protection: Many manufacturers require professional installation to maintain warranty coverage
Beyond the technical aspects, hiring a professional also gives you peace of mind. From handling permits to conducting final safety checks, an expert ensures the entire process is seamless and stress-free.
Common Mistakes to Avoid
Avoid these common pitfalls to ensure a smooth installation:
- Choosing the wrong location: Can make daily charging inconvenient
- Ignoring electrical capacity: May lead to system overload
- Skipping permits: Can result in legal or safety issues
- Underestimating costs: Plan for potential upgrades
Being aware of these mistakes can save time, money, and effort.
Conclusion
Installing an EV charger at home is a smart investment that offers convenience, cost savings, and long-term value. With the right planning and professional support, the process is straightforward and hassle-free.
If you’re considering installing an EV charger, working with experienced professionals ensures safety, efficiency, and peace of mind.
